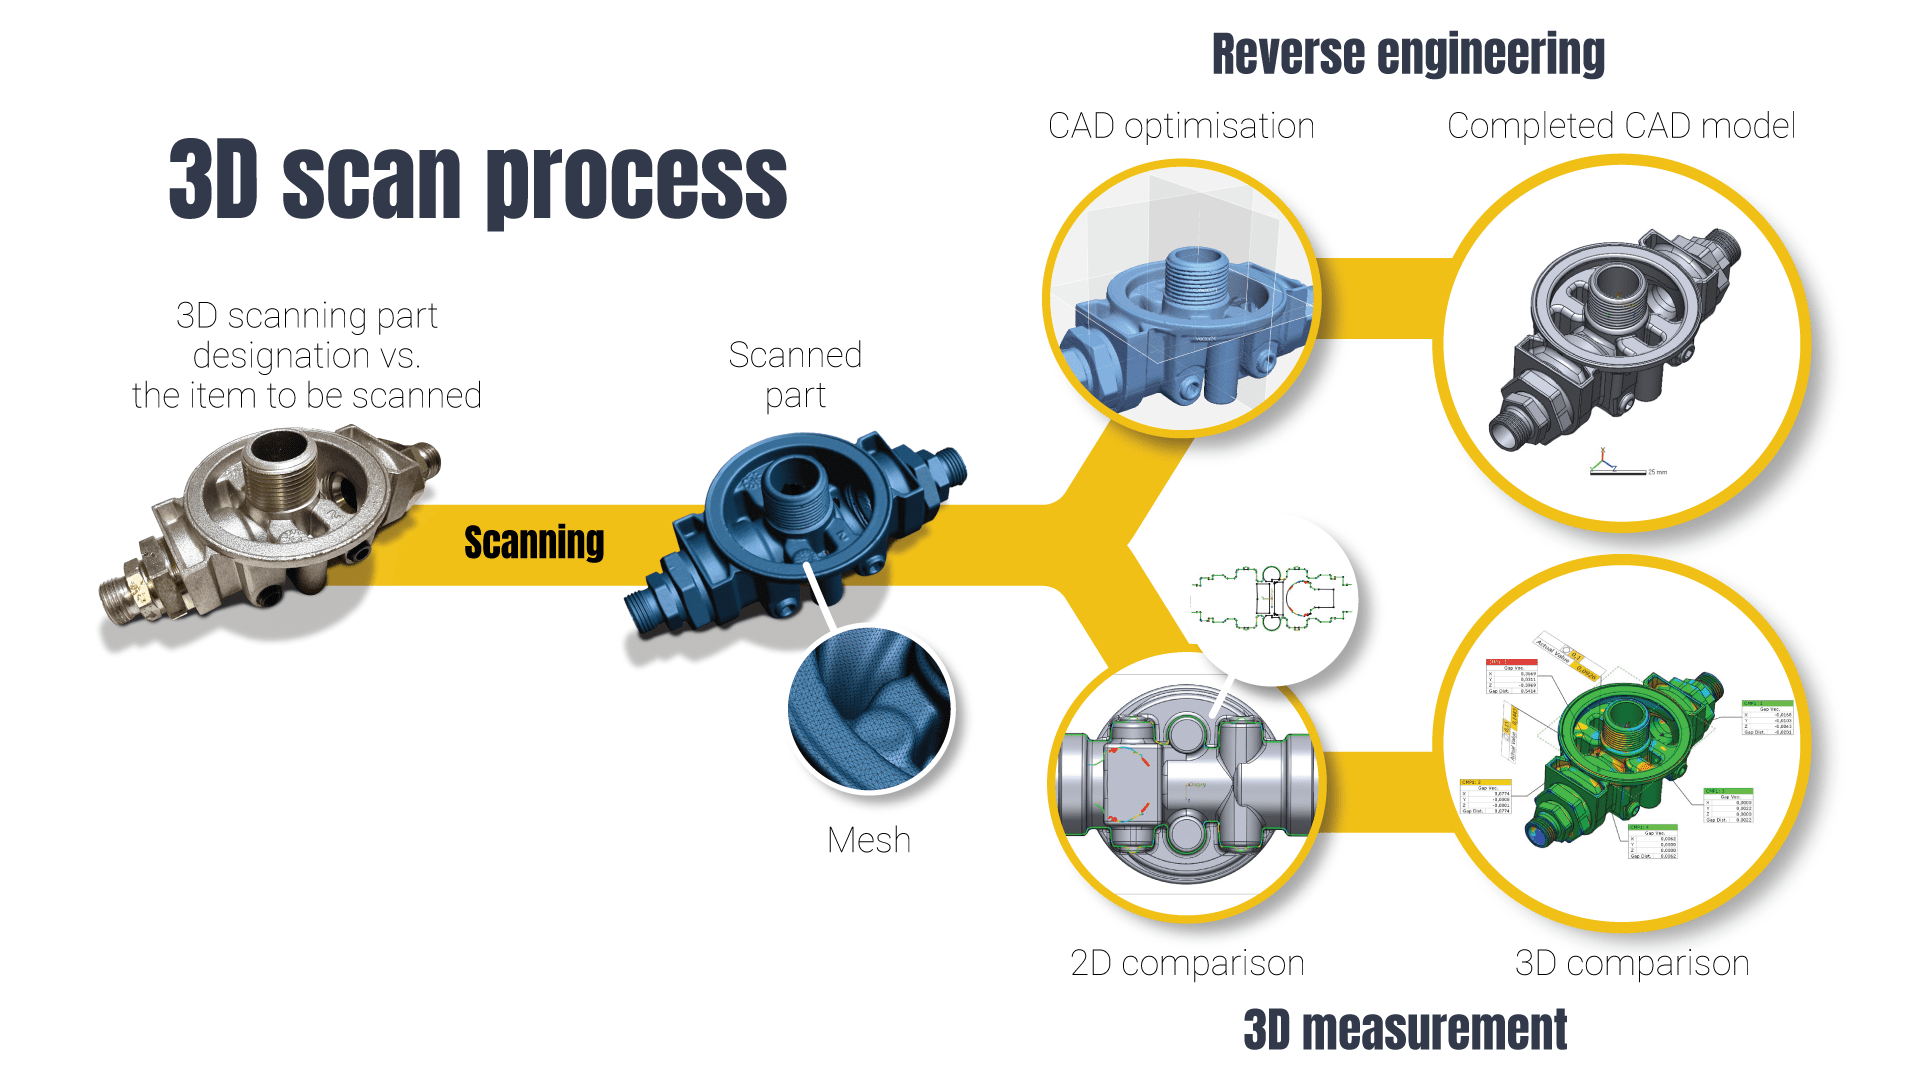
3D-scanning is a cost-effective and rapid method of storing a product in 3D-form. Cumbersome geometries can be saved and compared to an existing CAD model or a completely new CAD model can be created based on the measured geometry. The precision of 3D scanning is as high as 0.03 mm regardless of the measurement specifications. Small pieces can be scanned at our facilities and larger objects can be scanned according to their actual usage conditions. 3D scanning is appropriate for all materials and industrial fields.
3D measurements can be performed on individual or larger pieces. 3D measurements can be compared with existent CAD models or examined based on 3D-measured models alone. In addition to traditional quality control, 3D measurements are suitable for designing the trajectories of deformations, jigs, fixtures or robots. As the final result of 3D measurements, a clearly worded report can be obtained in which the results of all measurements are itemised.
More application examples are available below.
3D scanning and measurement
Design
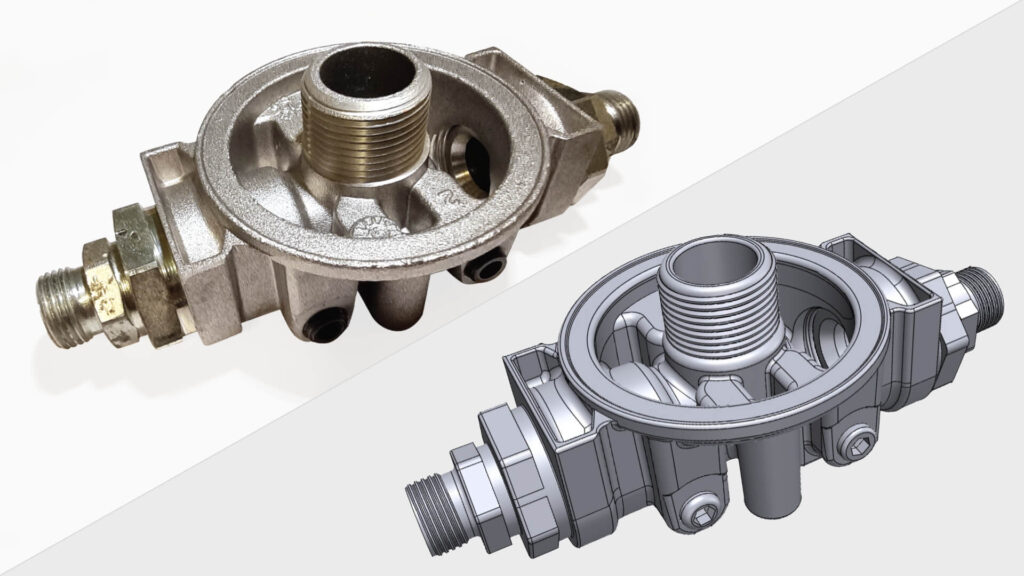
CAD-design
- Converts an existing part into a CAD model (Reverse engineering)
- As reference to CAD software
- Supports the design process
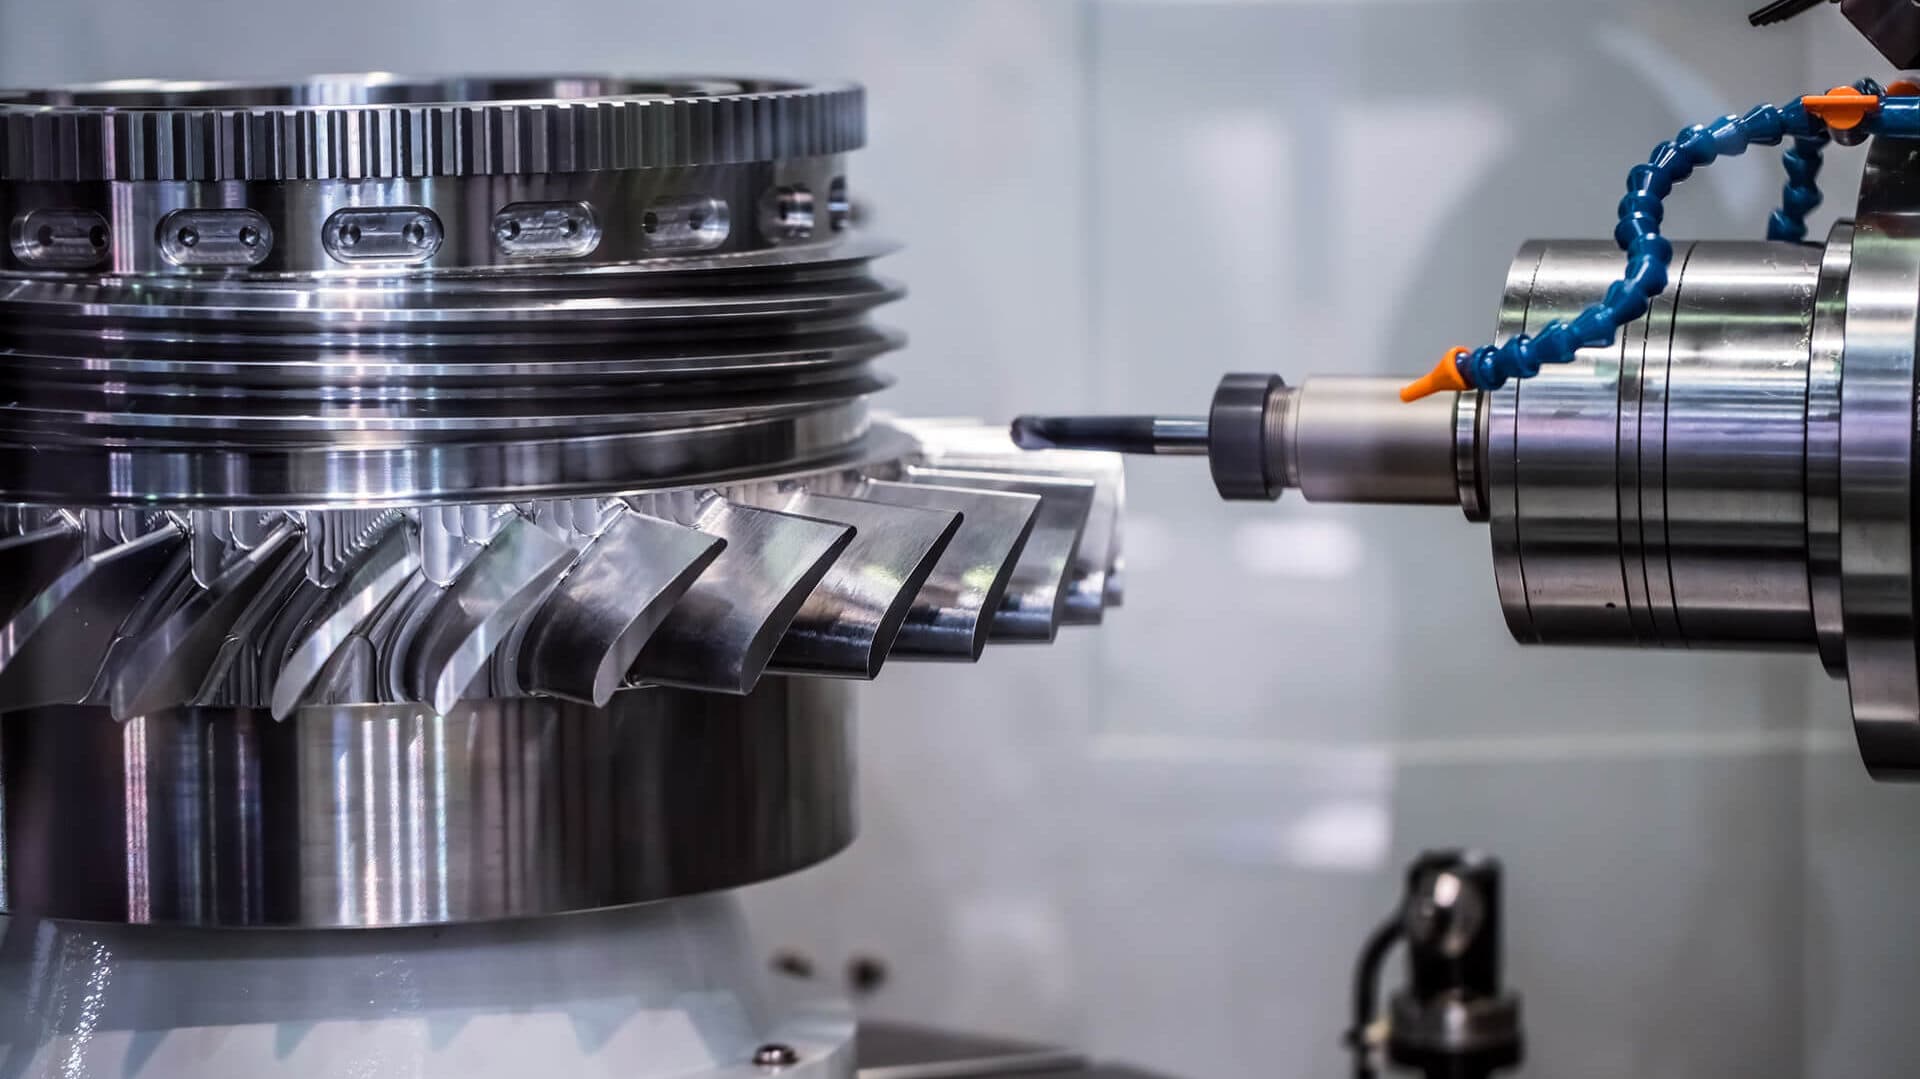
Prototypes
- Digital storage of prototypes
- Inspection of prototypes
- Converting prototypes into CAD models
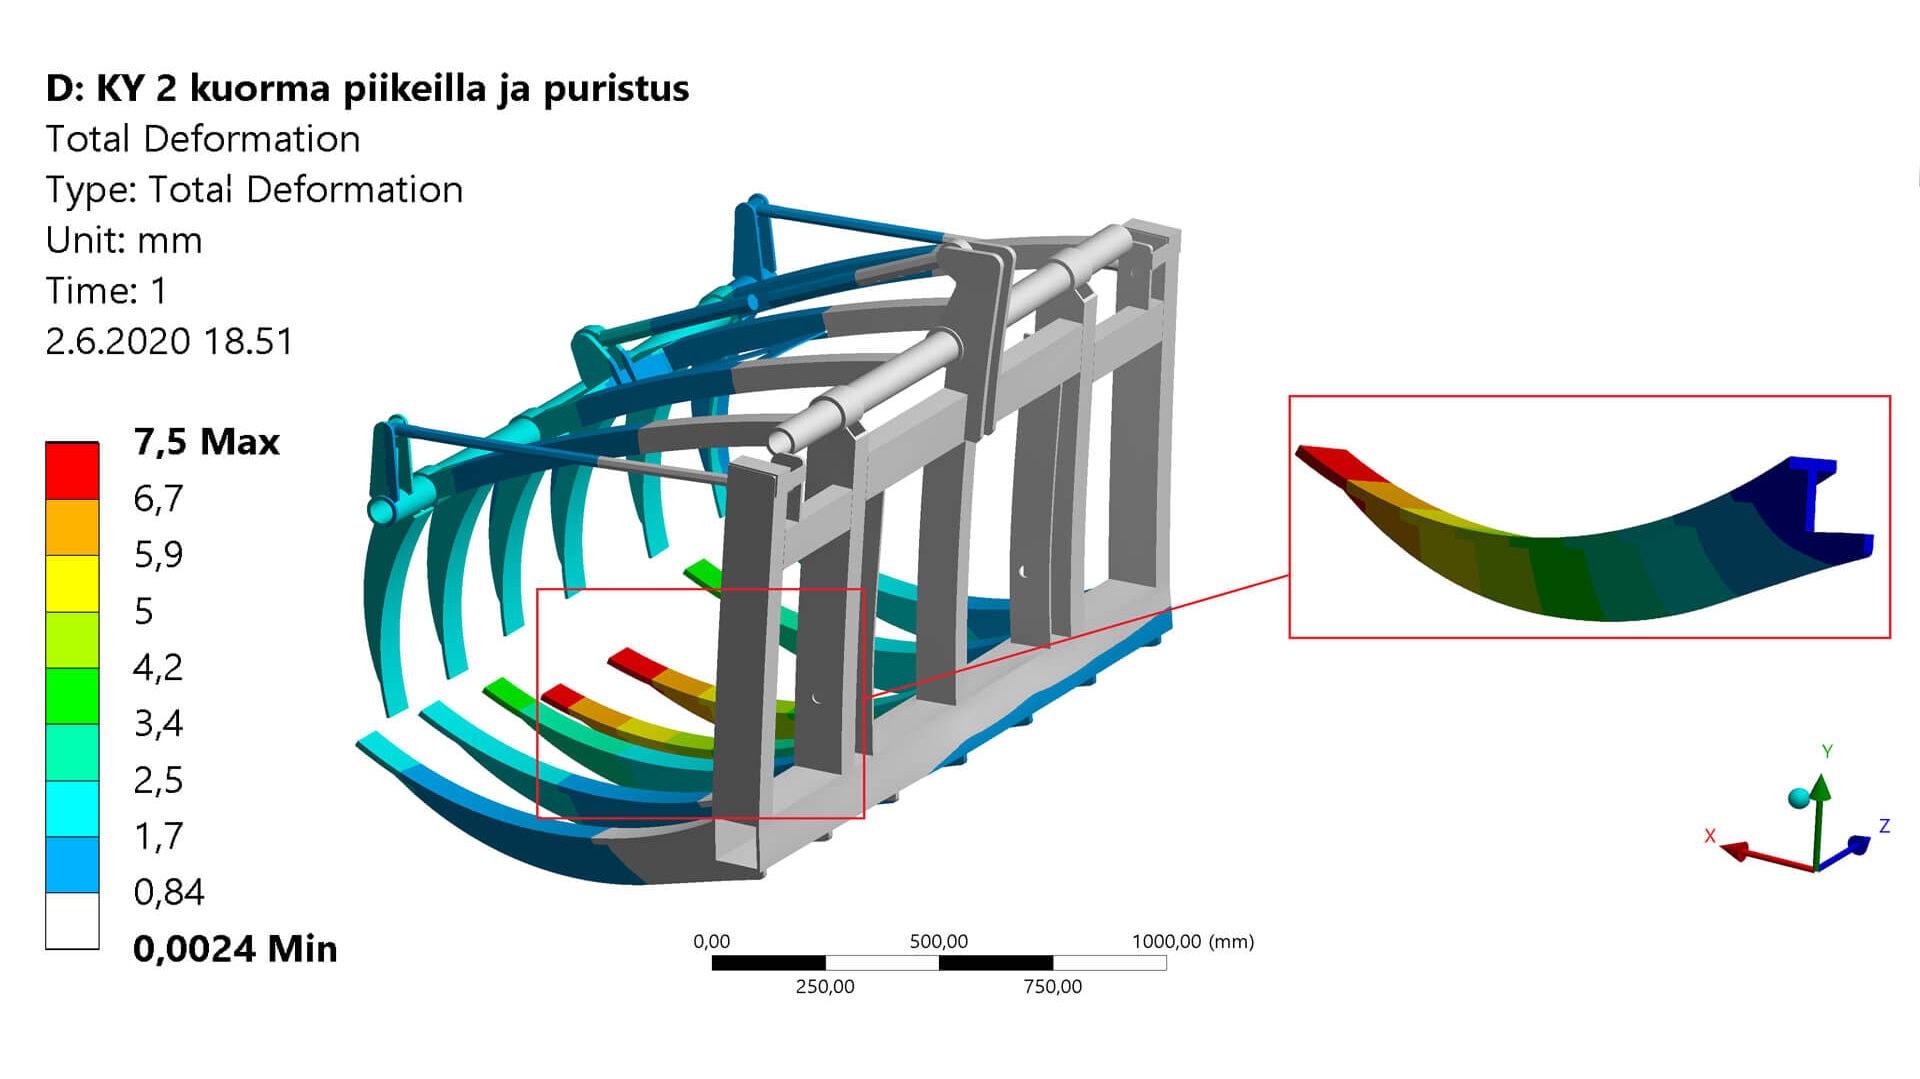
Inspection, simulation and analysis
- 3D simulation
- Damage analysis
- Deformation and geometry analysis
- Strength analysis
Manufacturing

Tool design
- Converting moulds, tools, jigs and fixtures into models
- Updating CAD files to match manufactured parts
- Validation and inspection of tools
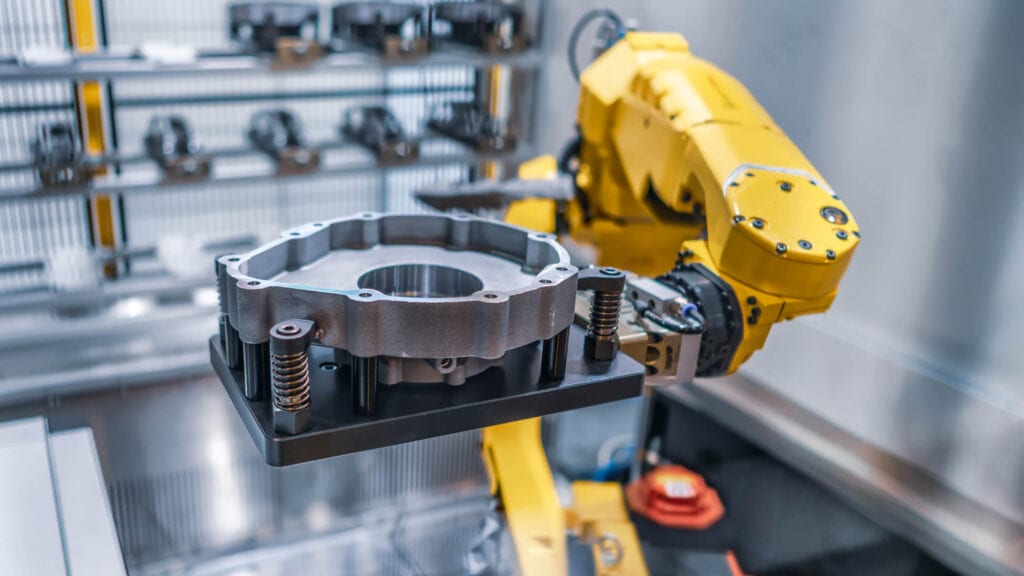
Assembly and production
- Virtual inspection of assemblies
- Recording tool/robot paths
- Inspection of parts before post-processing
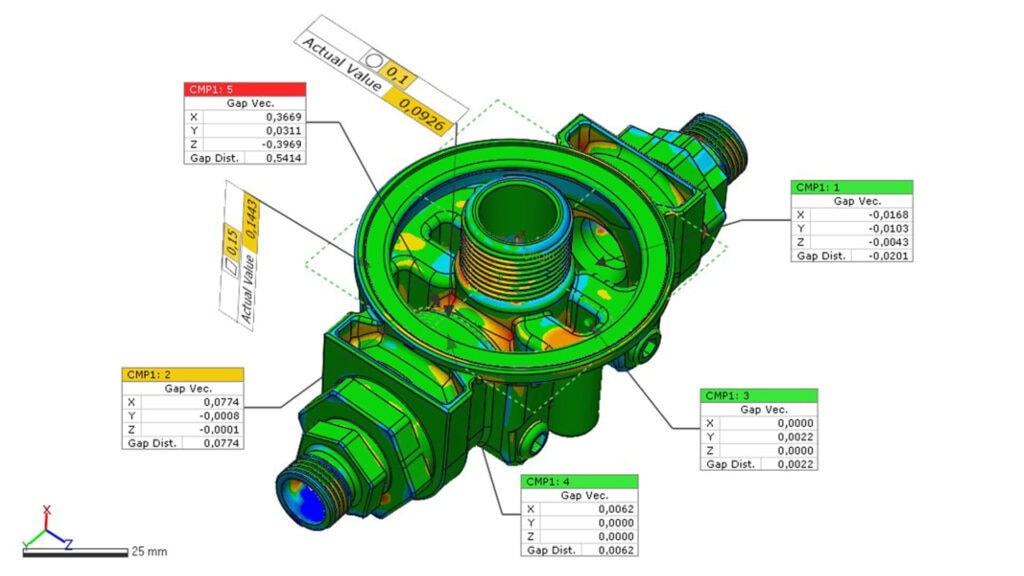
Quality control
- Quality assurance of products
- Comparison of product with CAD model
- Corrosion analysis
- Customer quality assurance
Maintenance and upkeep
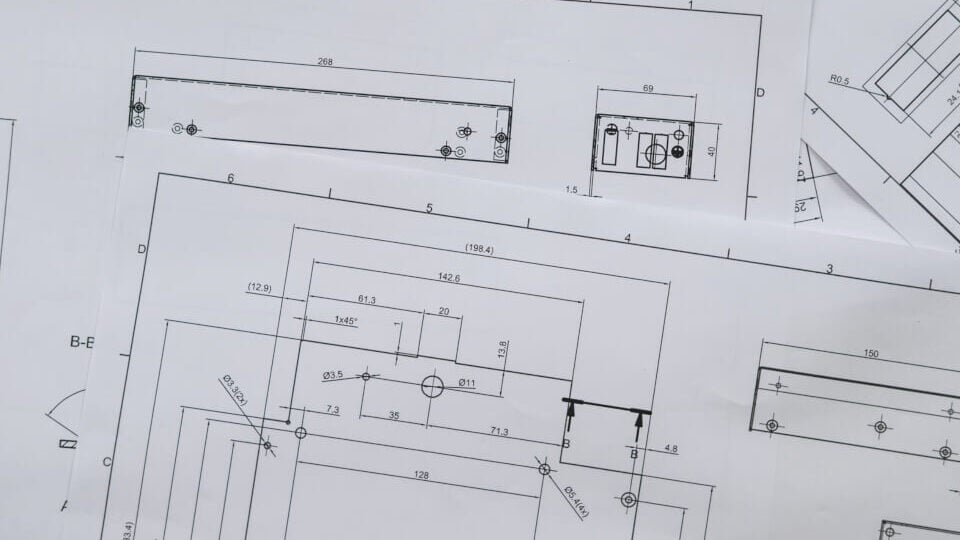
Documentation
- Documentation of a part or tool
- Marketing brochures
- Digital archiving
- Manufacturing drawings
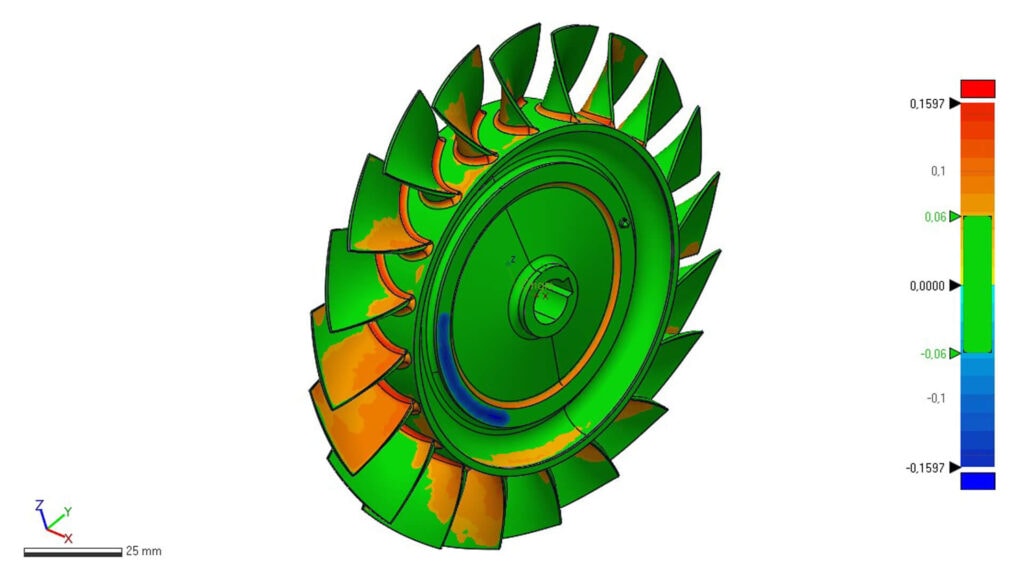
Service and Maintenance
- Wear-and-tear analysis
- Fault and shape analysis
- Part or assembly documentation pre- or post-maintenance
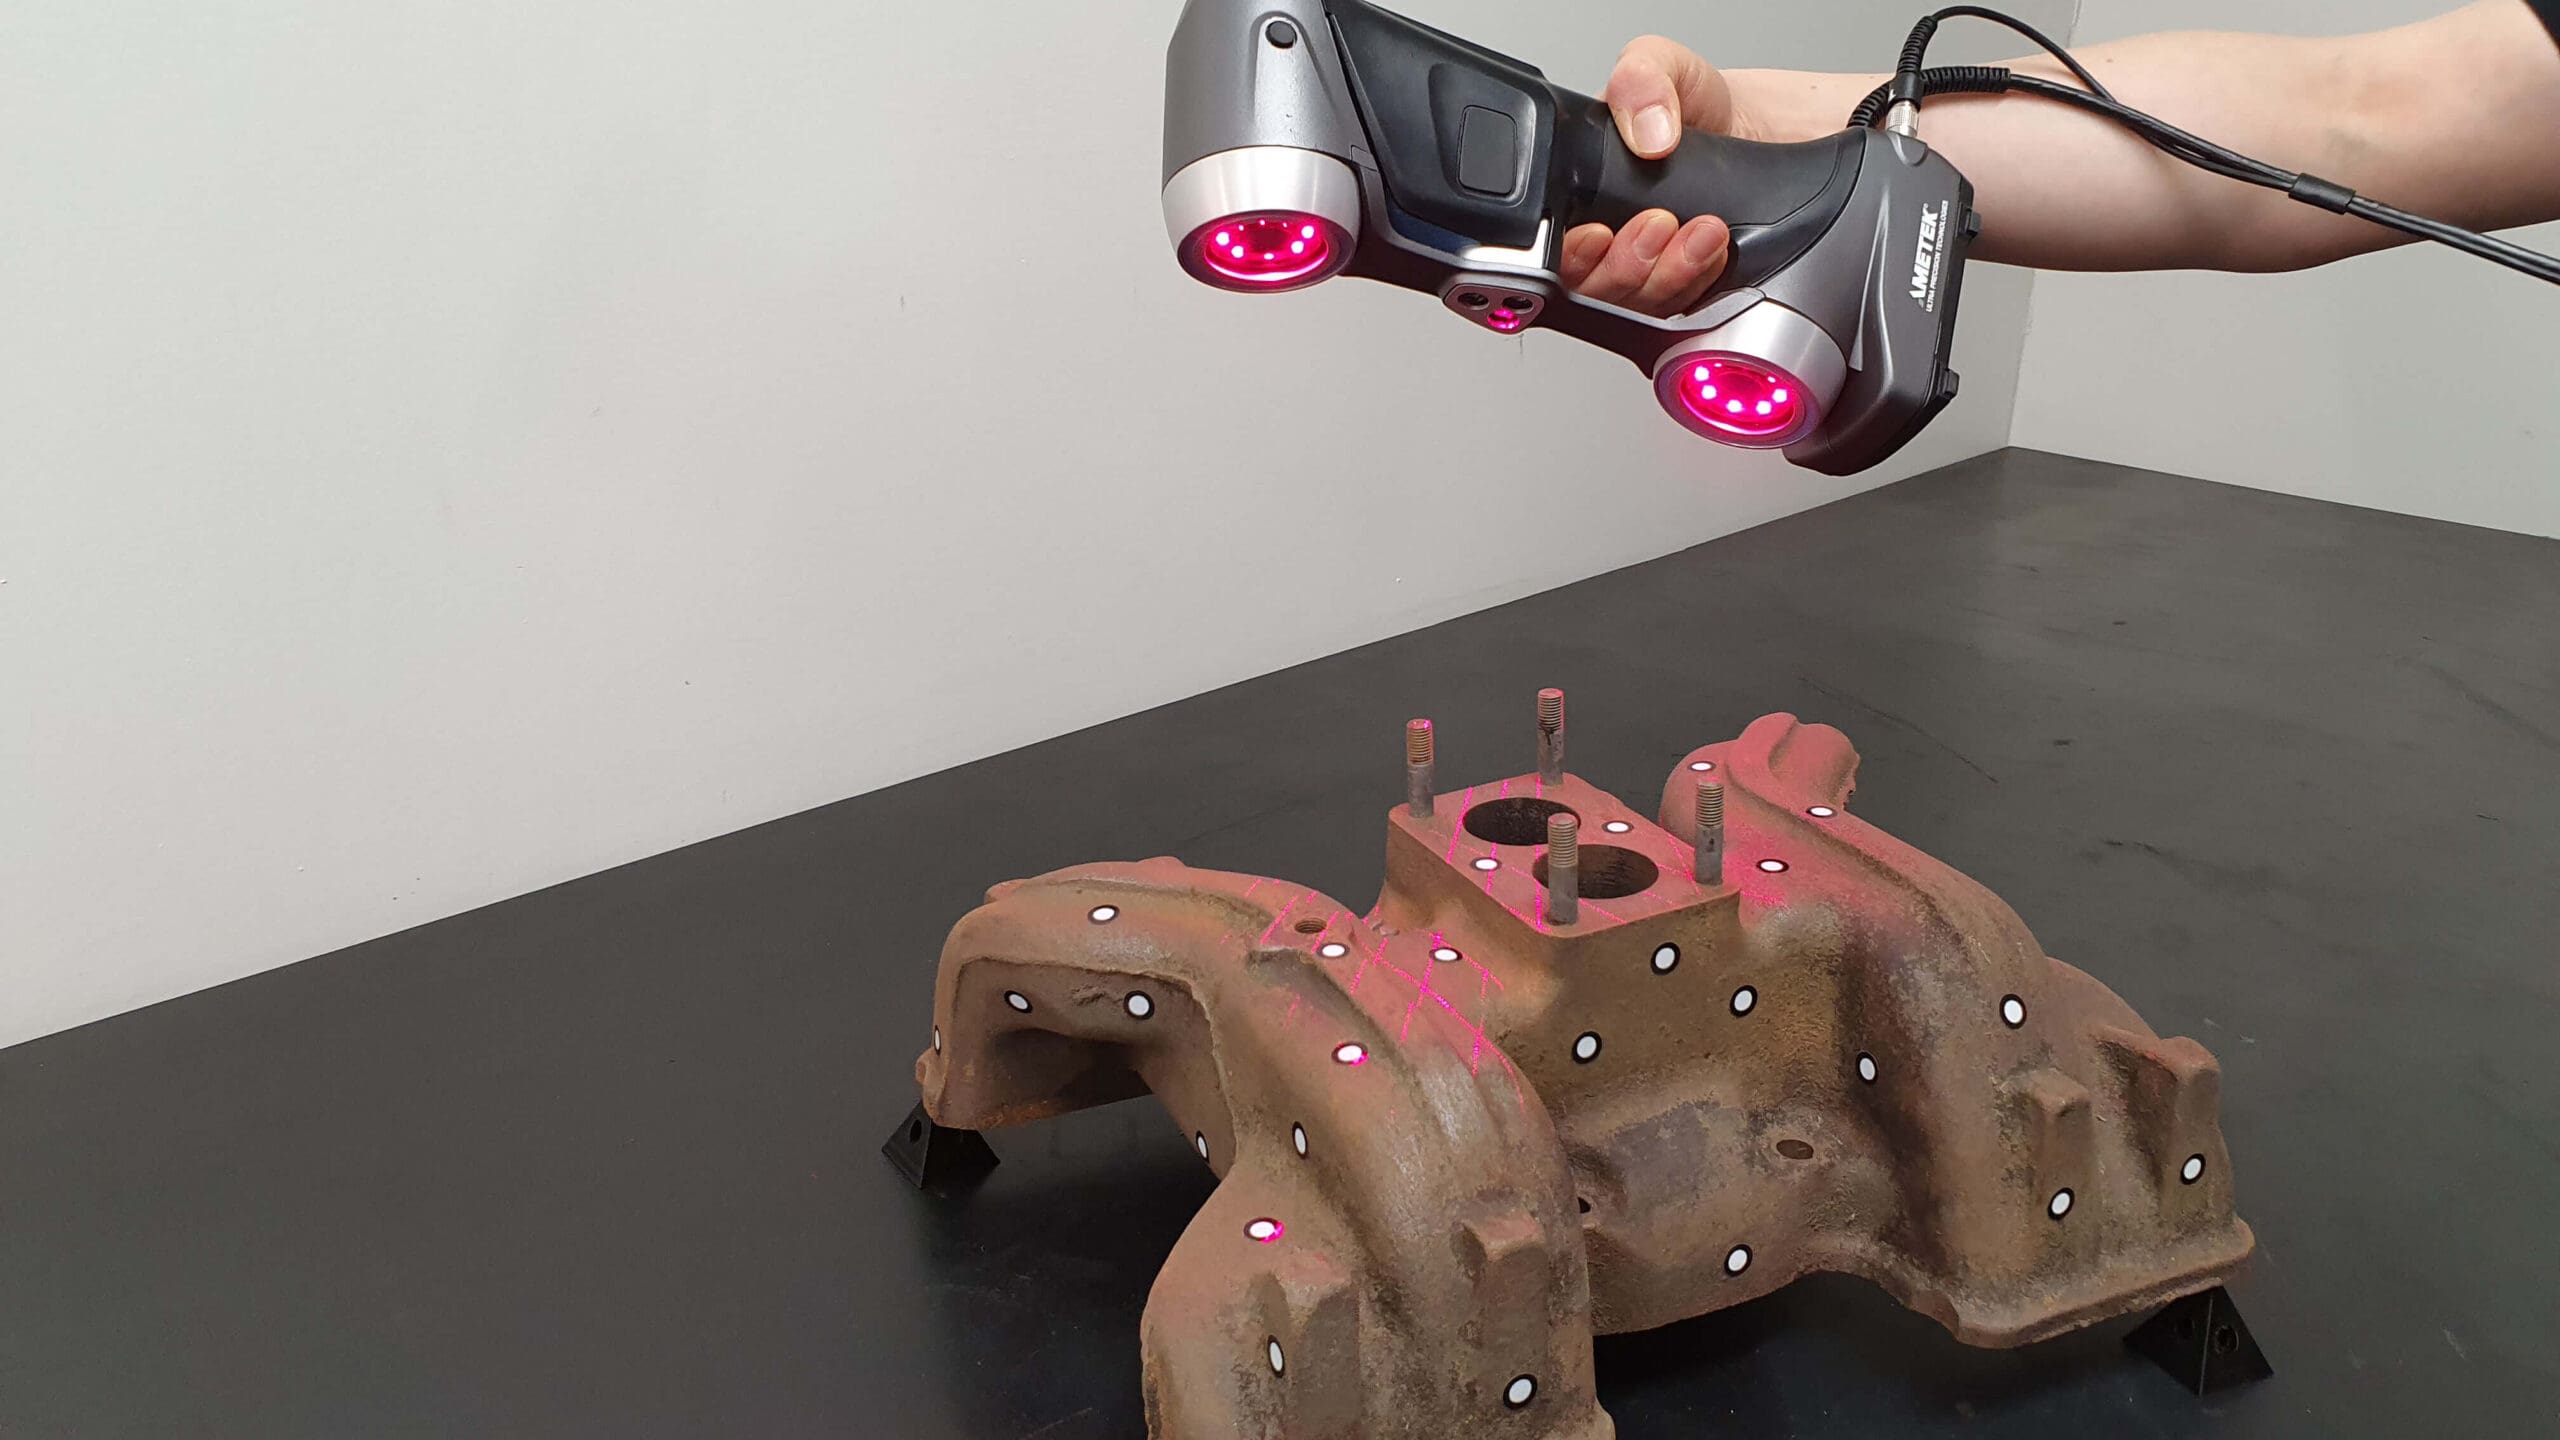
Reverse engineering
- Reverse engineering for product development, spare parts, and maintenance
- Designing complex parts and assemblies
Applications
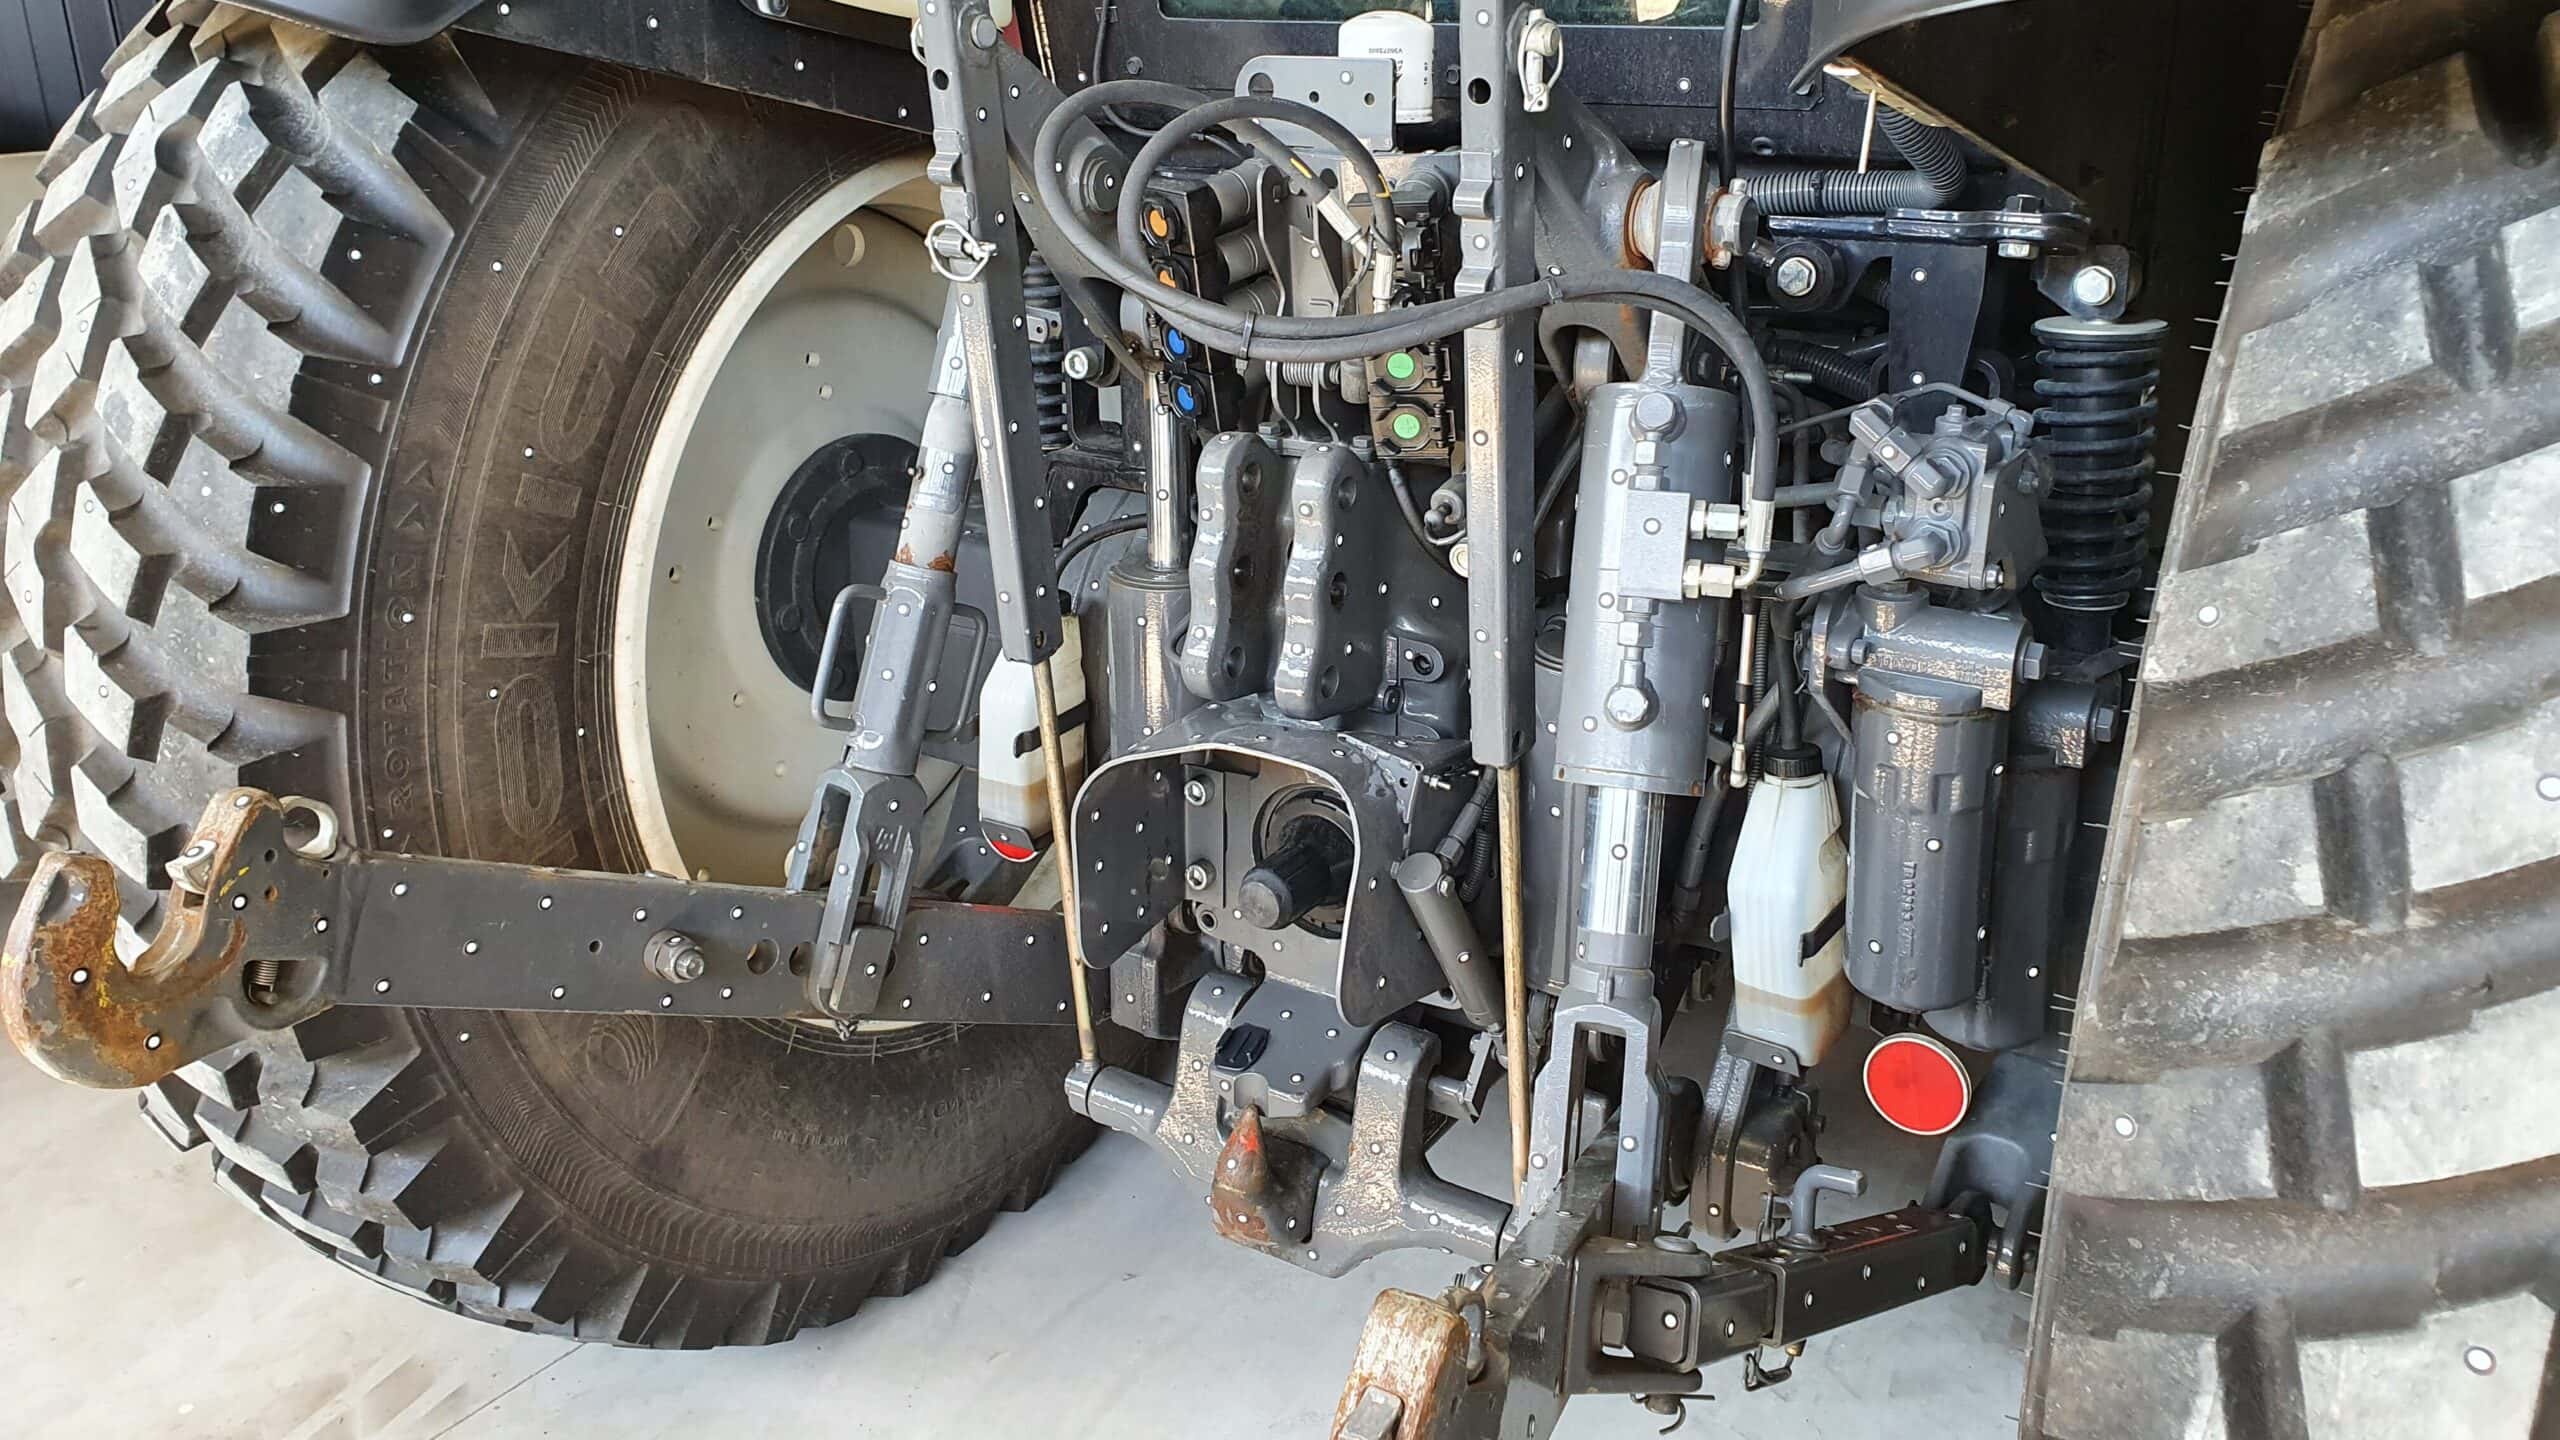
Product design
- Competitive product analysis
- Product environment measurements or integration
- Existing product measurements for after-sales services

Design methods
- 3D design
- FEA analysis
- Design of models
- Analysis and design of parts based on scanned parts
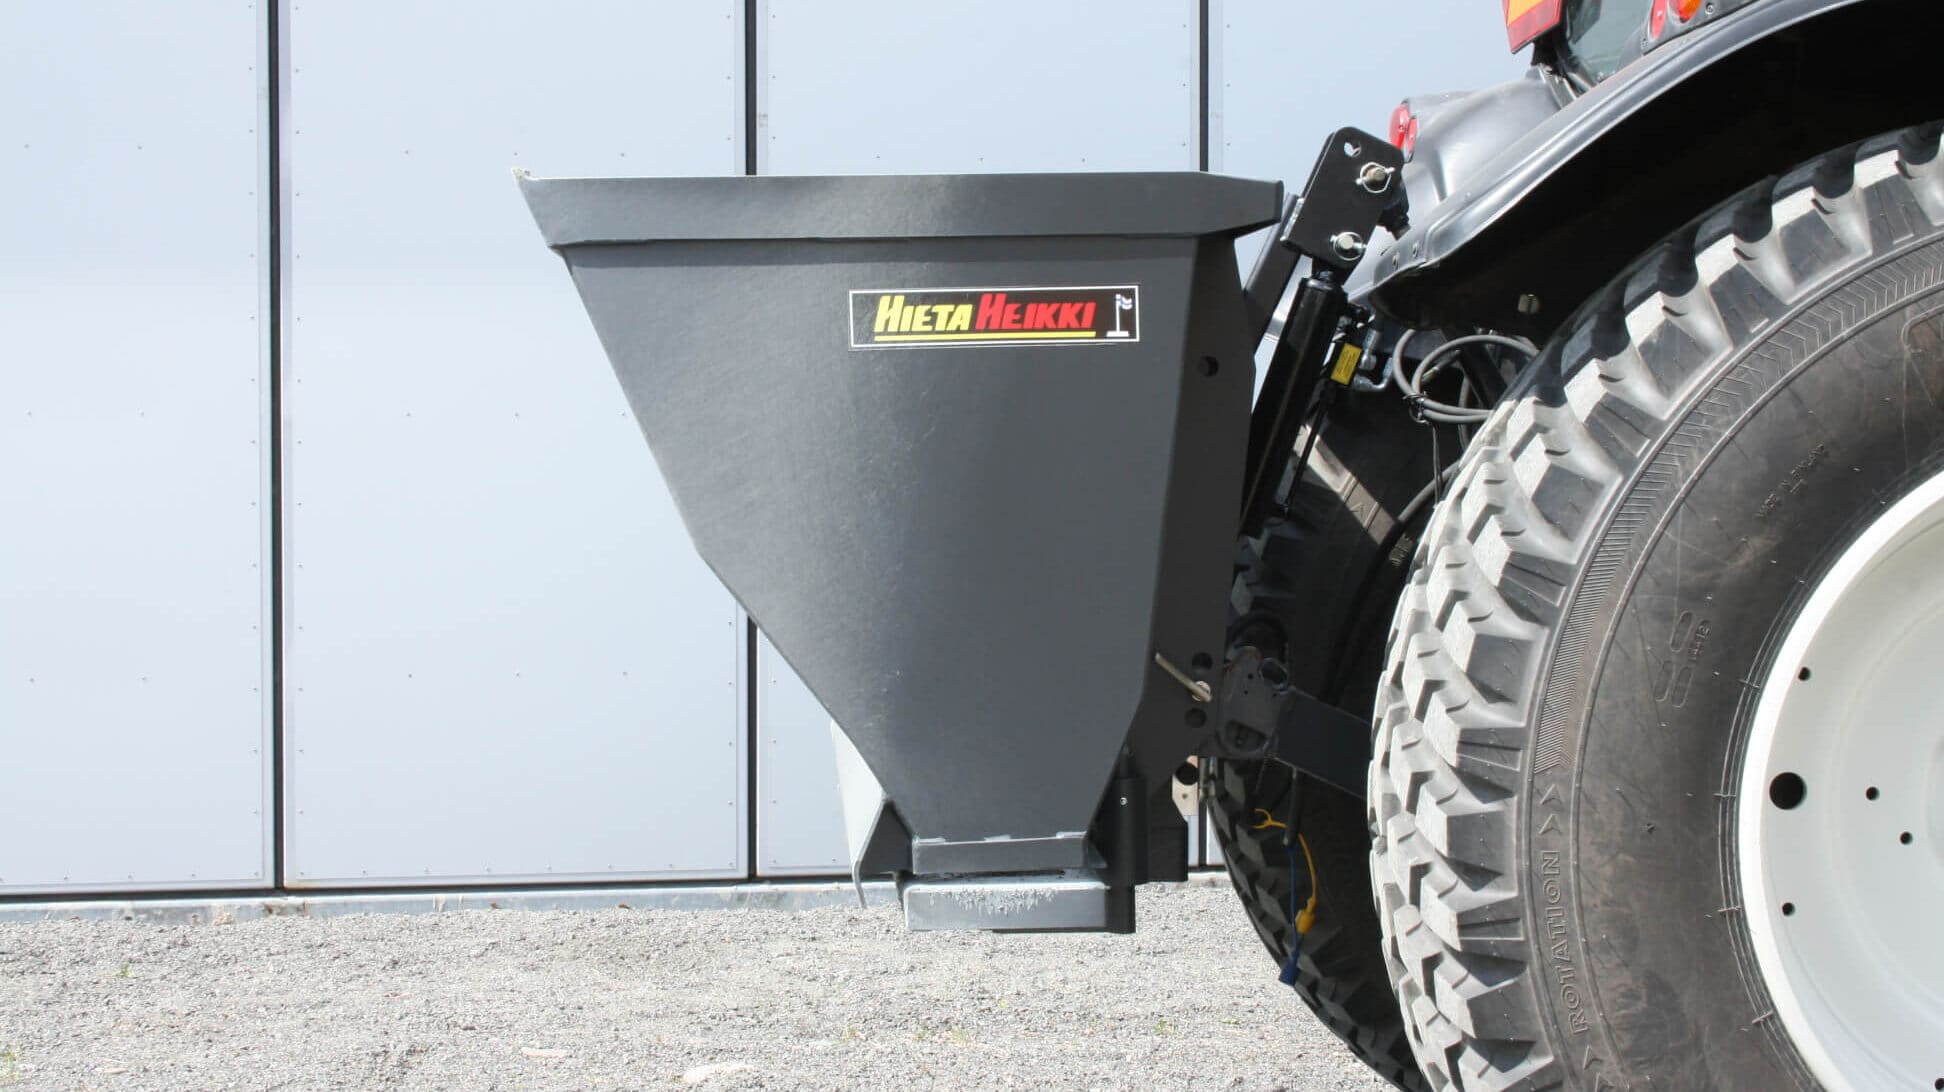
Scanning applications
- Integration of prototypes into CAD models
- Manufacturing of ergonomic products
- Deformation and geometry analysis
- Training and marketing
